Back in the
60s and 70s, before dedicated freight cars were built to haul wood chips, most
North American railroads modified and repurposed older cars. Anything that
could hold wood chips was deemed suitable. Most famous examples were hoppers
and gondolas with steel or wood extensions increase loading capacity. I
remember RMC published short article in the mid-1970s about modelling Spokane
Portland and Seatle Railway prototypes.
Another
common practice was to simply remove a boxcar roof and, sometimes, add extension.
These cars would act as a prototype for the future woodchip gondolas that were
built from the early 80s onward. Ian Cranstone documented them, all numbered in the 800000 series.
As you
know, I tried to make a correct CN woodchip gondola last year using 3D
printing. The project was quickly plagued by costs. Brace yourself, but with
custom decals, couplers, trucks and other details, the car could have cost
anywhere between 100$ and 200$. I need about 12 of them to serve Donahue… and
with Canadian economy going down the gutter; I don’t expect this to be a wise choice
to pursue this endeavour. May I say I’m seriously puzzled any “serious”
Canadian company didn’t bother to reproduce those widely known cars? Seriously,
most people modelling CN have a paper mill or some wood product industry.
The
prototype itself is relatively simple and straightforward. But I’m not in the
industry and don’t know what people really wants. No, I’m not ironic. That’s a
fact, there’s a large gap between what we perceive as “needed” and what people
will be willing to pay for. Manufacturers know that well and tap in that
market. I’ve heard dozen of people complain there’s no RTR M420 on the market,
but I’m starting to seriously think there isn’t that much demand for them.
Well… With
that said, I have two options:
- Scratchbuild CN Woodchip gondolas
- Kitbash 40’ boxcars
The first
option shouldn’t be that hard, but that will be another day. At this time, I
have about 10 MDC 40ft boxcar shells. Some undecorated, some painted. I got
them from Ebay. A seller was selling them in bulk and it was quite cheap.
CN roofless
boxcars were numerous and disappeared in the early 80s when replaced by
purpose-built gondolas. They come from many different car series, were modified
by local shops and vary a lot in details. Many had steel extension, but they
aren’t all the same height or have the same bracing pattern. Some doesn’t have
them. Some had their original door welded and sliding track cut. On many cars,
they replaced the original door with new plywood or steel door. These custom
built doors had different hardware and varied a lot. Finally, some doors were
simply closed with a steel sheet.
Ladders
were kept as they were before. Sometimes, you can see yellow thingies on the
car ends, but I can’t tell what they really are. Most cars didn’t have them.
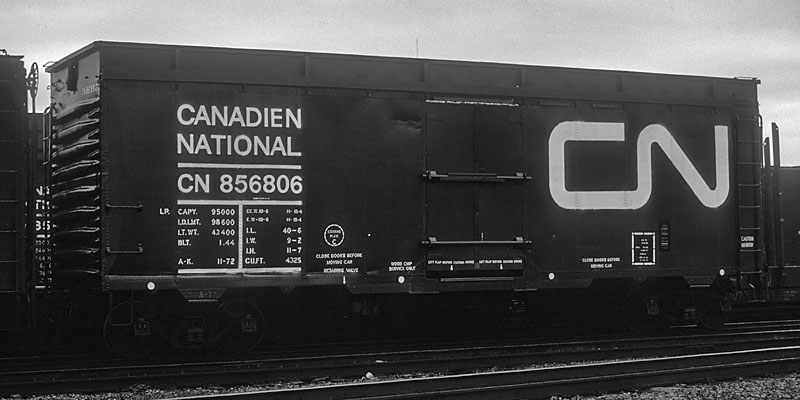 |
| Ian Cranstone collection, nakina.net |
Also, some older wood boxcars were also converted into woodchip cars. Using old Train Miniature old time boxcars as a starting point could yield interesting results. I'll probably try my luck some day.
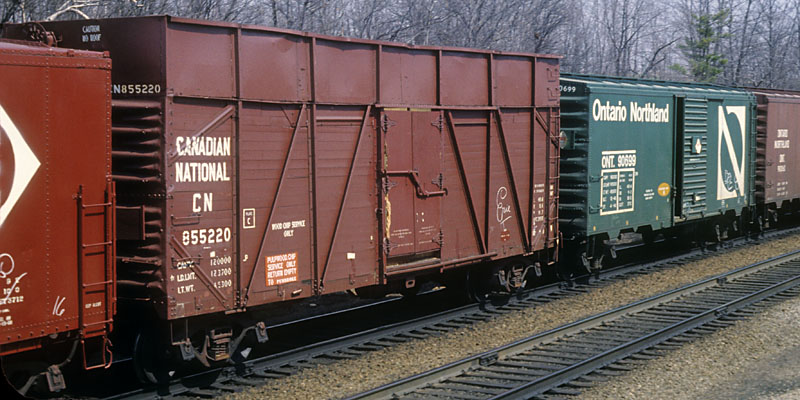 |
| Ian Cranstone collection, nakina.net |
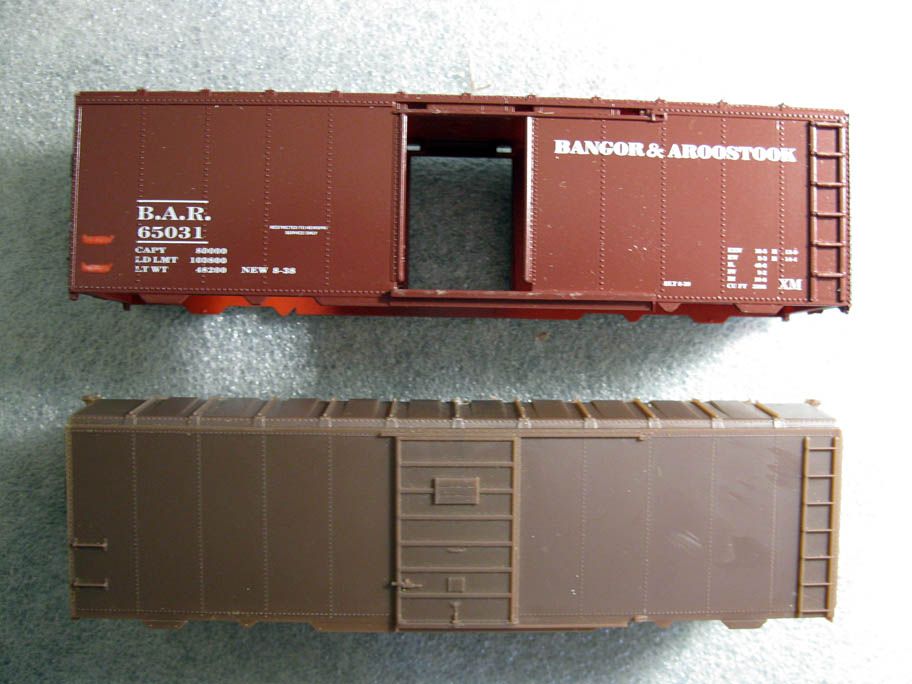
Well, let’s
start bashing. I’ll stress that I’m using unprototypical shells, so my models
will be nothing more than magnified stand in. The goal is to build a large
fleet quickly and fairly accurately at a competitive cost.
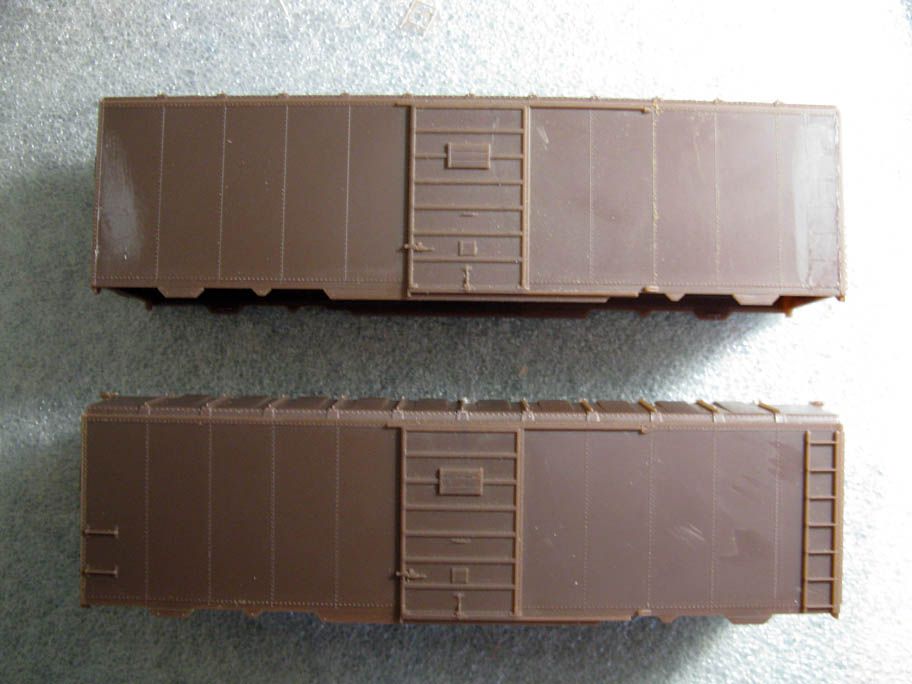
First step
is to remove moulded on grab irons and ladders. This step was easier than I
thought. I give serious thoughts about removing the ends ladders, but finally
backed off. Removing them would require a tremendous amount of work and final
results wouldn’t be very smooth. If I only built one car, I would have done it,
but this isn’t advisable while bashing a dozen!
Next step
was to remove the doors, then the roof. I remove the roof last because it kept
the shell sturdy when removing other details. A few filing was required to
remove protruding plastic to get a smooth inside surface. I took extra care to
save the brake wheel housing now protruding from the car end.
The next
step is to prepare the underframe. The old MDC underframe has moulded on low
profile brake rigging. You don’t see them when looking at the car side. I’m not
crazy about brake rigging, but I feel it is a bare minimum to have some air
cylinder and apparatus protruding from the car underframe. I think I’ll use
Accurail 40ft brake rigging and had cylinders and valves as needed. I used them
on other project and they are a good way to add interesting detail without
losing too much sanity. I don’t have any on hand, so they will probably be
added in the end.
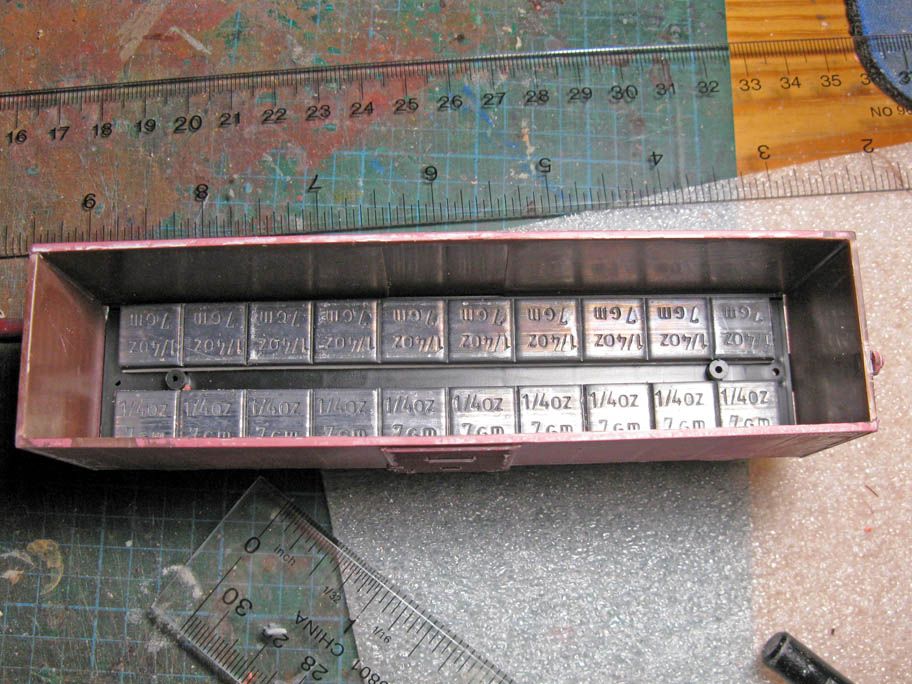
I weighted
the underframe using auto adhesive wheel weights. Two strips are installed on
each side. Then, the underframe is carefully snapped and cemented to the shell.
The underframe will now provide the structural strength lost when removing the
roof.
At some
point, I thought it would be better to hide the lead weight with a styrene
sheet acting as a floor. After trying it, I am positive it is better to leave
the weights visible and paint them later.
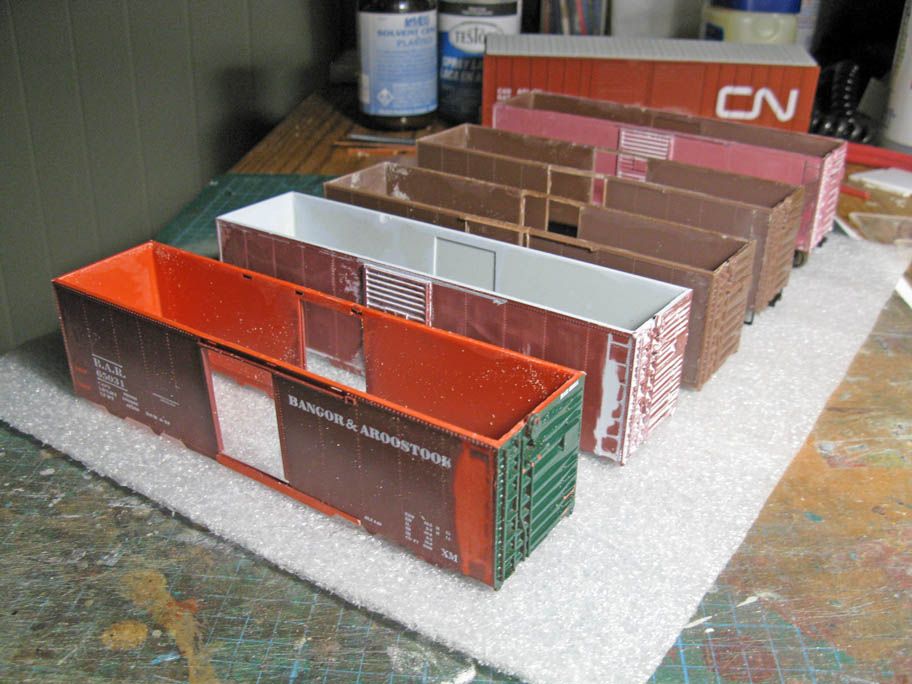
So far, 5
shells are prepped and I have 5 others to do. Adding details like doors,
ladders, extensions will be done later when I buy more supplies. To be honest,
bashing the shells is tiresome to some point and I prefer to get rid of that
step as soon as possible before venturing into the most interesting task of
detailing. I’ll also need to bash another 4 cars from the layout. I’ll probably
use Athearn or Accurail shells.
No comments:
Post a Comment